

Tutorial: Glitching Images and Videos Using a HEX Editor
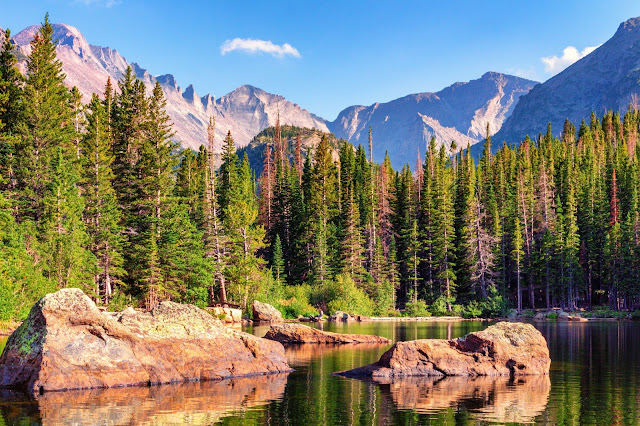
There are many ways to make digital glitch art. In this post, I will be going over one of the processes I have been using to create glitches for my series The Corrupted Landscape. If you want to learn about other glitching processes http://datamoshing.com/ is a great resource. I use two different processes to create my glitches a HEX editor or Audacity. A HEX editor opens the image or video as plain text and Audacity opens them as audio. This post is a tutorial for creating glitches using a HEX editor. Be sure to check back next week for a tutorial using Audacity. HEX Fiend is my editor of choice but there are plenty of others. I also use Adobe Photoshop and Premiere to handle the image and video files. I will be using this image in the tutorial.

Glitching images using a HEX editor
Glitching images using a HEX editor is how I make the majority of my glitches. Opening an image file in a HEX editor allows me to view the file in plain text and this is where I insert text from climate reports, news stories, or politicians’ quotes. To begin, you want to use the right image file format. I use Photoshop RAW, BMP and TIFF files. Each file type will produce different results. JPEGs tend to produce small glitches that require a lot changes to the file’s plain text to get the results I’m looking for. Some file types are more fragile than others as well. This means that changing the file too much will break the image and you won’t be able to open it back up as an image. Photoshop RAW, BMP and TIFF files rarely break for me but you have to still worry about the file header. A file header stores information like image size, resolution and color space. If information in the header is changed it will break the image. If you are using a Photoshop RAW file then you have the option to make it headerless when you save it.

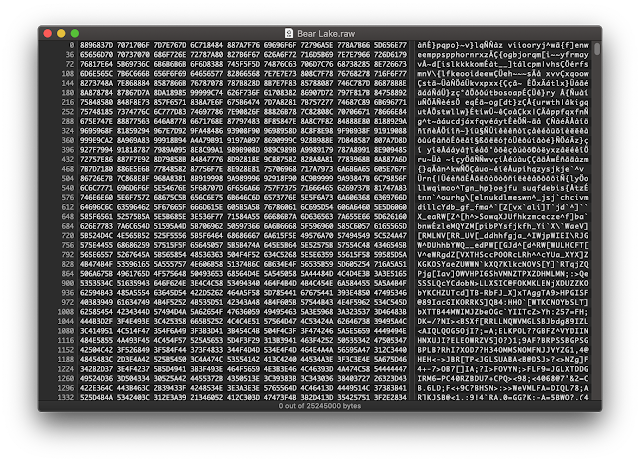


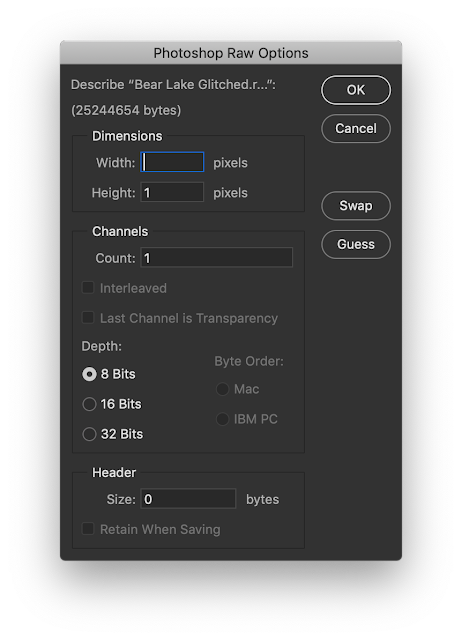


Just make sure that the value in the Header section is 0 and also select to Save Channels In Non-Interleaved Order. When you open the file in your HEX editor it will be displayed in plain text.

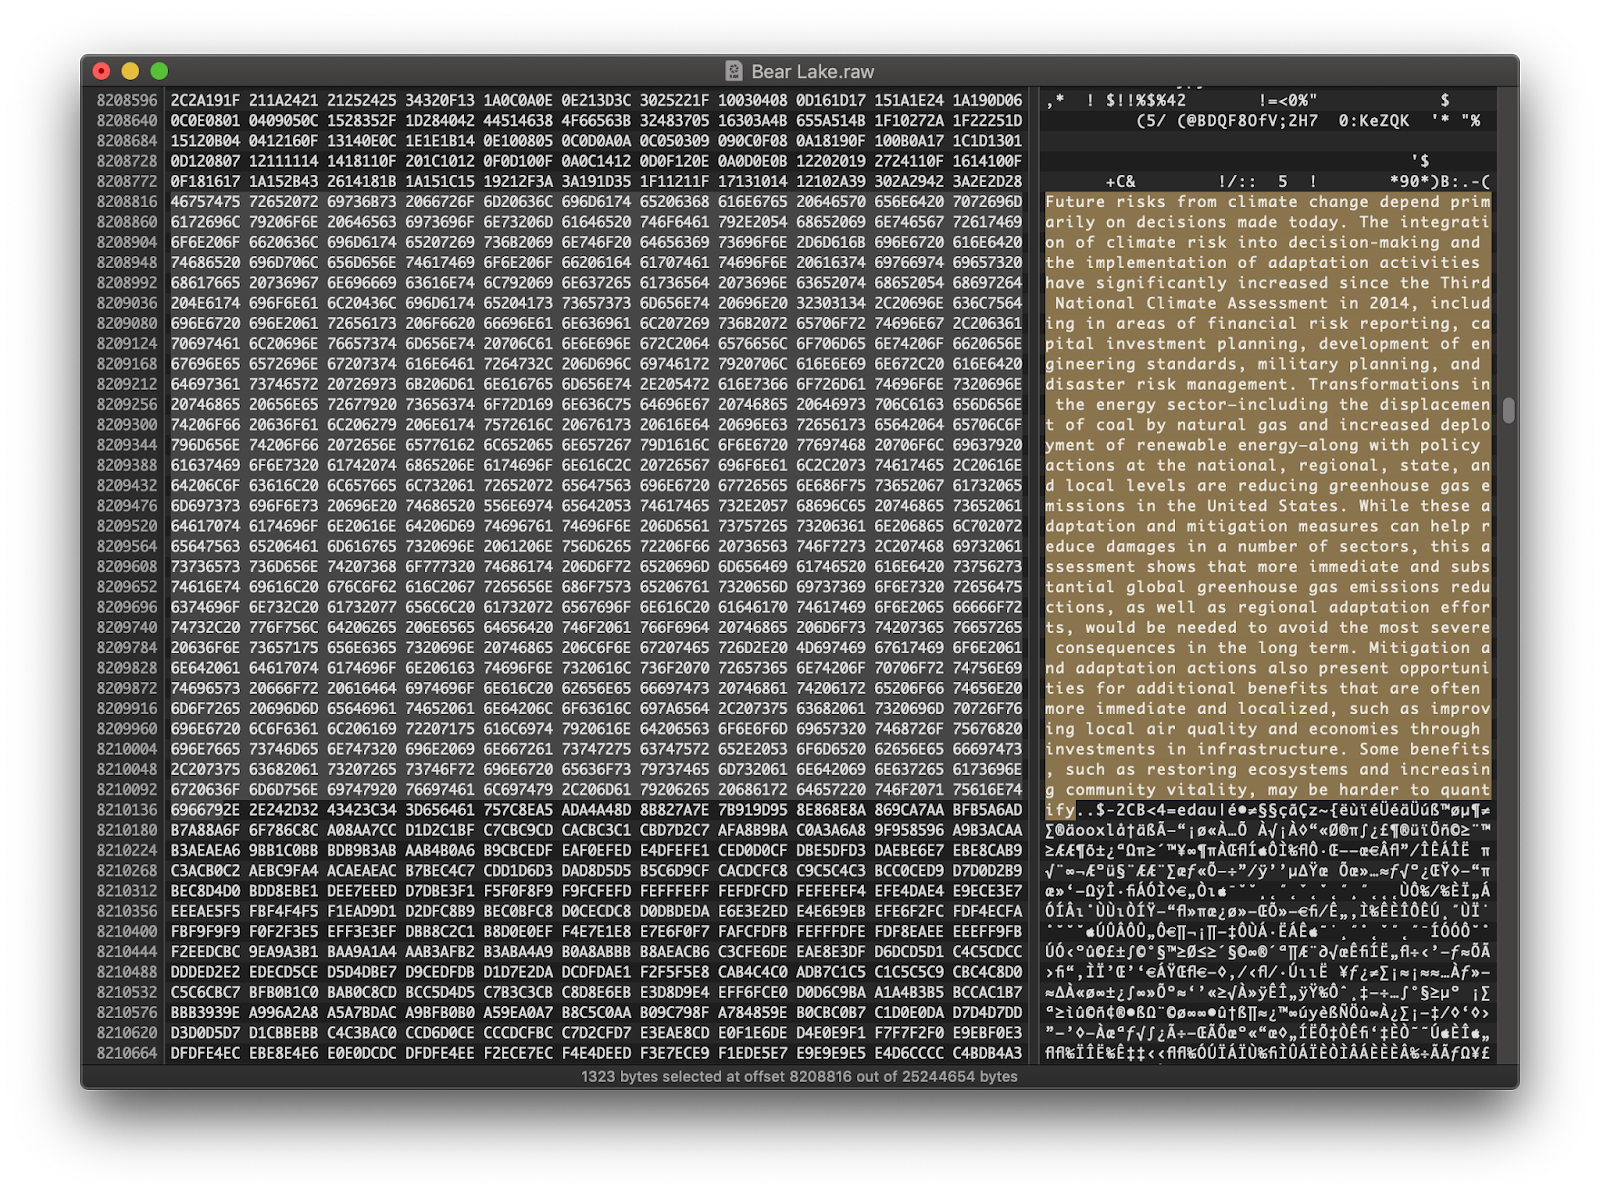
If the file you are using has a header it will look like organized text such as this.

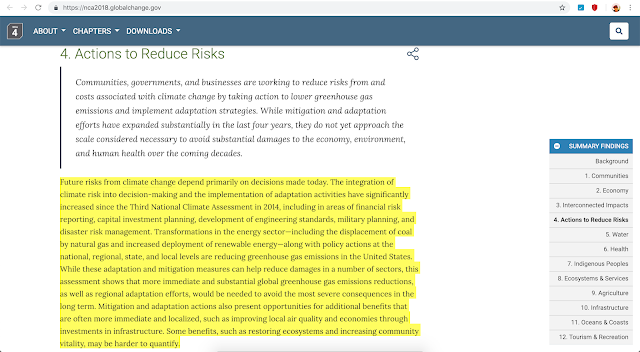
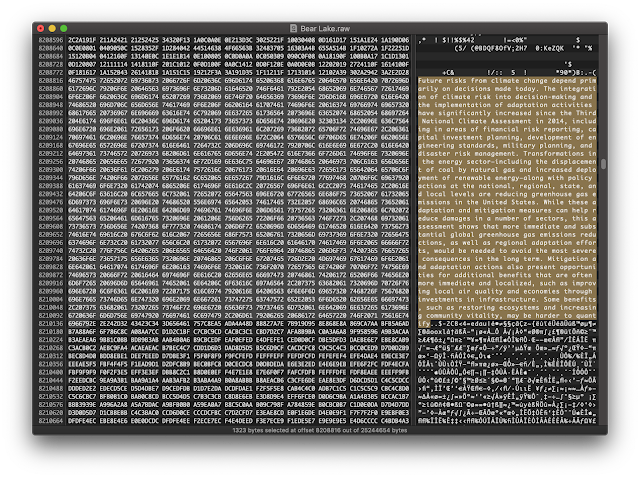
Once again, don’t change information in the header. If you are using a headerless Photoshop Raw file then there’s nothing to worry about. At this point, you can now begin replacing the plain text in the image file with your own. In my process I replace the file's text with text from climate change reports, news stories or politicians’ quotes. With image files you have more leniency in the difference between the amount of characters of text you begin and end with. Meaning you don’t have to be precise and count the characters you are replacing. After I have found the text I will be inserting into the file I select an amount of text in the image file similar to the amount of text I am inserting. Again, you don't have to be precise for image files.


Once you’ve inserted your text all that’s left to do is to save your file. Always be sure to change the name of the file so that you don’t overwrite the original. If you are using a Photoshop RAW file then you will have to open the file in Photoshop to view it. If you are using a different image format than you might be able to view it in your file viewer like Finder on Mac OS. When you open a Photoshop RAW file in Photoshop you will have to enter the dimensions of the image.

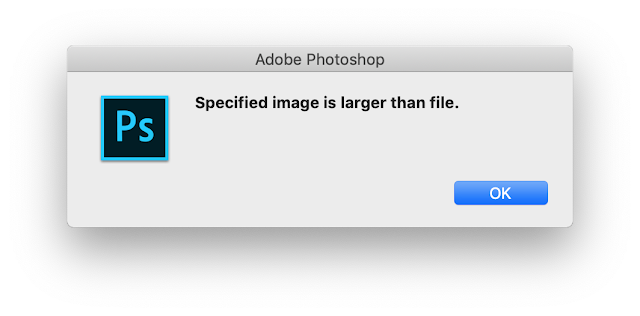
These will usually be the same dimensions as the original image but sometimes it might be a few pixels off due to changing the file. If the image dimensions have changed then you will get an error message that looks like this:

Most of the time you will just need to change the dimensions by a couple pixels so just play around with it. Once you find the dimensions of the image change the Channels Count to 3 for RGB, uncheck the Interleaved box and press okay.


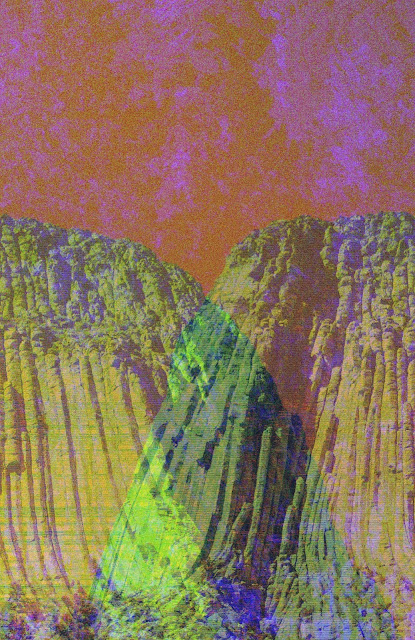
Here is the glitch created. If you want more distortion in the image then you can open the glitched file in the HEX editor again and add more changes.
You can also glitch video files using a HEX editor. Once again you must choose the right file type. I have found that MP4 files work best but feel free to experiment with others. Open up the file in the HEX editor and scroll down past the file header. With video files you must be sure that you are replacing the exact same number of characters that you are inserting. This means you must count the characters in the text you are inserting and replace the same amount of characters in the file. For example, to insert a seven letter word such as "climate" you must replace seven characters of plain text in the file.


If there is too much difference in the number of characters inserted then the file will break. Another difference in glitching video files is that you can think of the plain text of the file as parallel to the video. For example, if you want to glitch the beginning of the video then change the plain text towards the top of the file. Because of this, I often insert one word of text at a time; scrolling through the file as I go instead of pasting a whole paragraph in one place. I will insert a sentence or two, save the file, watch it and if it needs more distortion then I will add more; always saving the file as a new name to keep the previous version. Video files are more fragile than images and therefore break easier. Saving the previous version means that if I change too much text and break the file I still have a working one. After I am happy with the results, I open the file in Adobe Premiere and re-export it to a web friendly format.
As I said at the beginning, this is only one way to create glitches in images and videos. There are many more. Experiment with different files and processes. The fun thing with many of the processes is that the results are random so experimentation almost comes naturally. Next week I will post a tutorial on glitching using Audacity so be sure to check it out.
You can see my series of climate change glitches The Corrupted Landscape on Instagram (@brandoncranford) or my website.
Comments
Post a Comment